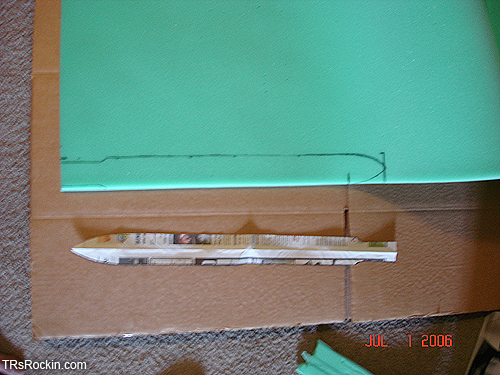
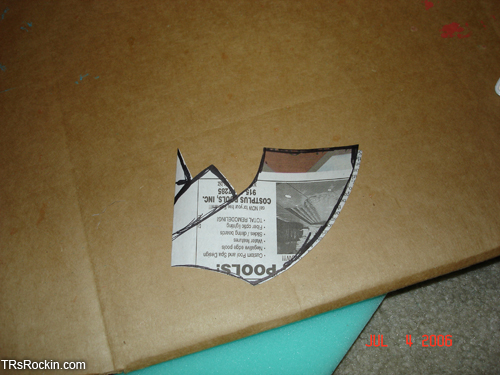
Link's Master SwordFoam weaponry tutorial by Concolor How to make your very own, Convention-Legal (for all but the most skittish conventions) Elf-Warrior Sword To avoid wasting money, and banging your head against a wall, read this entire article through before starting. This article is meant as a general guide: nothing is written in stone, things can be modified to suit your character. Things you will need: Sheets of foam rubber (1/2 in thick) This guide will tell you how to make a sword that might not look like a metal blade, strictly, but is much, much better for having at a convention. Its first benefit: you can’t really hurt someone with a small stick covered in foam and rubber. This blade bounces back from hits, and the paint does not chip. You can even get into (light) swordfights with it J It’s also much lighter than wood. Well, let’s get started. First thing you want to do is to find reference pictures of the blade you’re making. The more the better, but make sure they’re all the same version. This blade was modeled after the one seen in Ocarina of Time. If you can find one in perfect profile, and if you have an image editing software, print it out life size. It’ll take several sheets, but the proportions of the blade will be exact. Surprisingly, we weren’t able to find a pic like that, so I had to draw it out by hand, using some makeshift algebra to get proportions. “The blade is three wings long”. “The blade is 3 times longer than the hand hold”. “The wings are twice as wide as they are long…”. And so on. Sketch it out as many times as you need to get it right. Bad proportions will ruin your finished product. Note: it helps a bunch to sketch it out on the fold of the newspaper. That way, it’s perfectly symmetrical when you cut it out on the fold. Also, use rulers, yardsticks, Styrofoam cups, whatever you can find (that you don’t mind getting Sharpie on) to help with curves, and irregular shapes. After you sketch out the whole weapon (tape sheets together if needed), you can break it down into smaller parts. This makes it easier to work with. I started with the blade. Using my sketch, I copied it onto another piece of newspaper. I then cut along the fold. I took that, pinned it to the foam, and sketched the line onto the foam using the marker.
With the box cutter, (and be REALLY careful here) hold the blade at a 45º angle, point in toward the surface that will be the outside of the blade. Using a smooth motion, cut along the line you drew earlier. Note: this part takes practice! Try it on small scrap pieces first. Be prepared to make some mistakes, and some useless pieces. Note, if your blade is asymmetrical along the axis (like a Keyblade), you will have to flip your template paper over before tracing then cutting one of the two pieces. I’ve made this mistake.
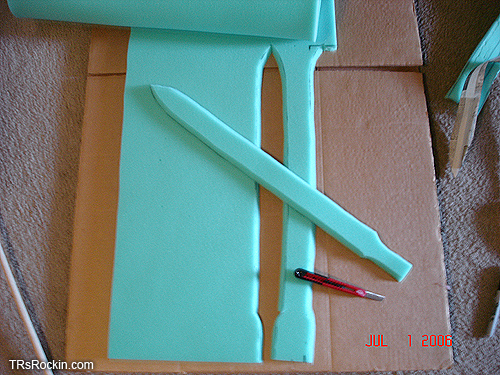
Here you see the first half of the Master blade cut. Note the bevel edge. Innit pretty?
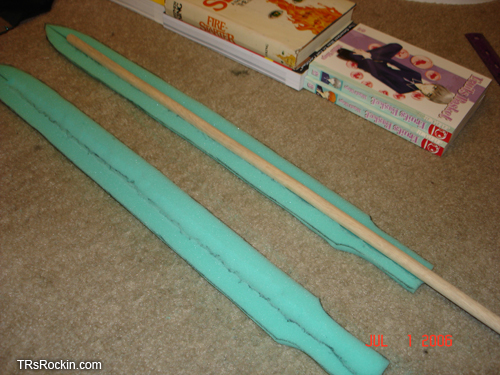
Here are the two pieces I’m going to glue to the dowel. Since they’re exactly the same, the bevel doesn’t matter. On a keyblade, the beveled side would matter. Be careful. Next, you have to make room on the inside for the dowel / PVC to sit in.
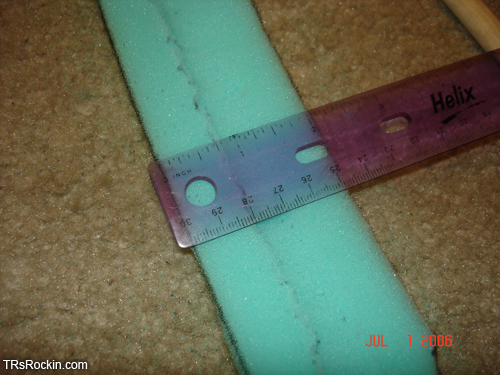
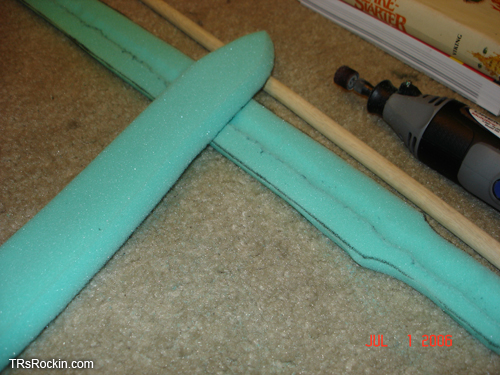
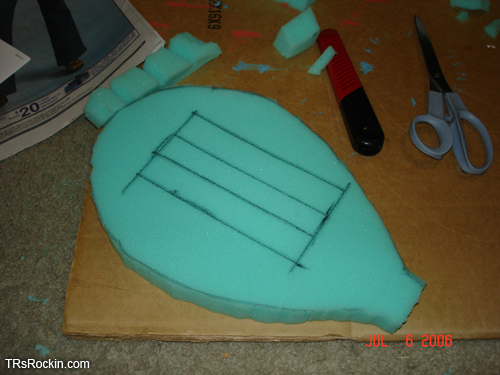
Here I’m measuring the width of the blade. 2 in. The groove must then run down the exact center, which is 1 inch in my example. I drew small dots at 1 in., every few inches down the blade, then connected them by marker, with the yardstick. Leave some room at the tip of the blade for flexibility. Next up is a really tricky part. If you’re like me, your hands aren’t the most stable when you do most of your costuming at 2am, hopped up on Mountain Dew…
Take your dremel, and equip it with the sanding drum that comes standard with most of them. Now, using a pretty high speed rpm setting, and a very steady hand, sand out a groove on the inside of the blade. Be careful! Hold the foam with your other hand near to the area you’re sanding out. Only do an inch or two at a time, then readjust. Trust me here. Otherwise you’ll tear up the piece you just cut so carefully.
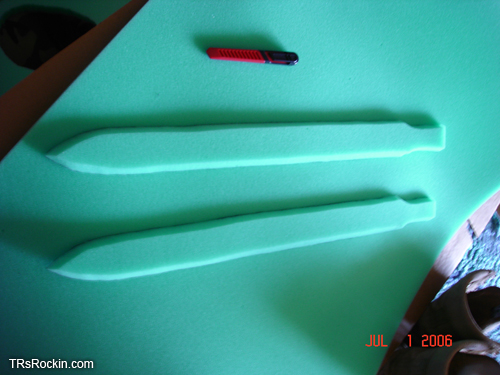
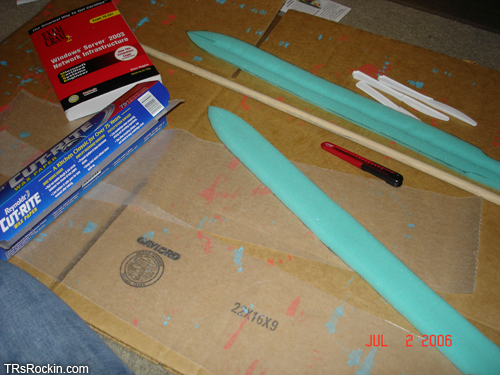
Here, I’ve cut the groove in both pieces. Note how the closer piece still looks flat. That’s because the dowel goes on the inside, it won’t be seen.
The dowel fits perfectly. A little safety space at the top for edgy con staff. At this point, you see how the pieces will fit together. Using the hot glue gun, carefully glue the dowel into the groove on one piece of the blade. Then, glue the other piece to the first / dowel. Pressing down evenly but lightly until the glue cools.
Things don’t always go as you plan. Here you see our valiant first attempt. Going on advice from another site, we glued a basic shape to another dowel, with the intent to sculpt it later. The end result was so bad it brought tears to our eyes. Ahem, moving on…
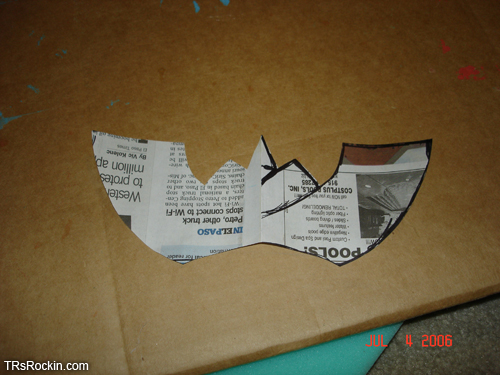
I then started on the distinct wing shape found at the hilt of the sword. Again, a smaller piece, again, cut on the fold.
The piece, unfolded.
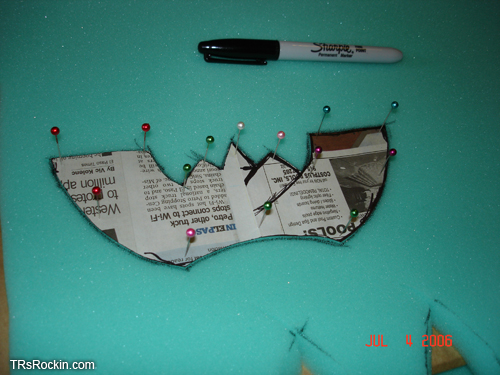
Here I’ve pinned the paper to the foam, and have drawn around the outside edge, getting ready to cut (just as I did with the blade). I took the pins and paper off before cutting.
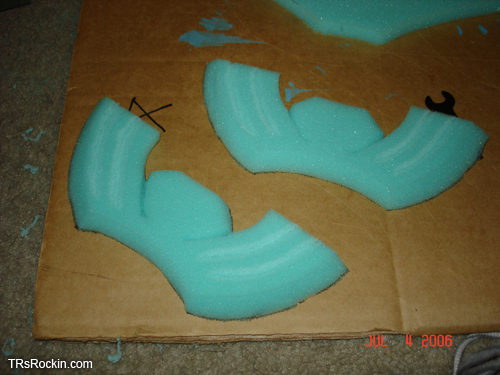
The cut wing pieces. I added a little detail with a Brush Wheel that came with my Dremel. I later learned that detail is much easier to add with a 30watt soldering iron. Smells awful, though, so make sure you have plenty of ventilation. And eye protection. Using the Dremel, I cut the groove for the dowel, and set them aside.
Another idea that didn’t work. I had planned to use wooden parts for the rest of the hilt / pommel. It didn’t work. *spit*
Take two. I next tried to cut bands and wrap them around the handle. Didn’t work. I tried cutting notches in the bands (top left) looked like garbage. *spit again* Sooooo…
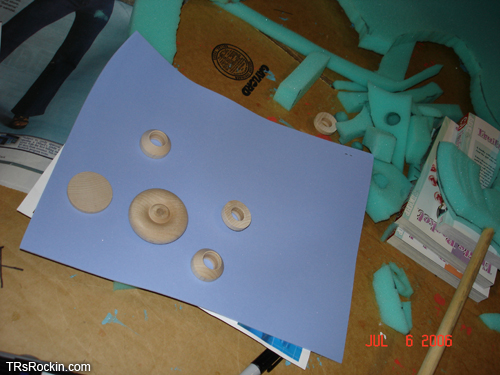
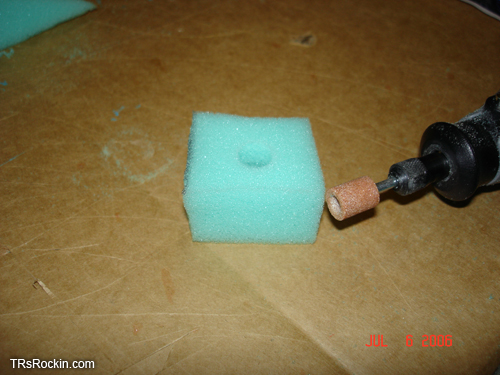
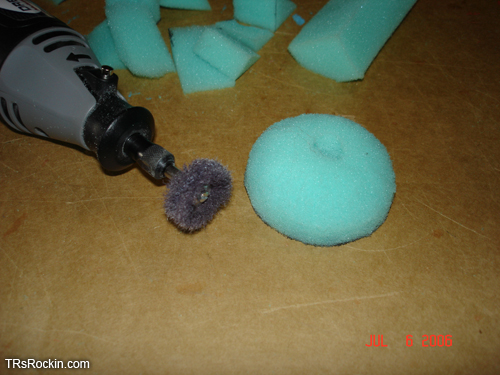
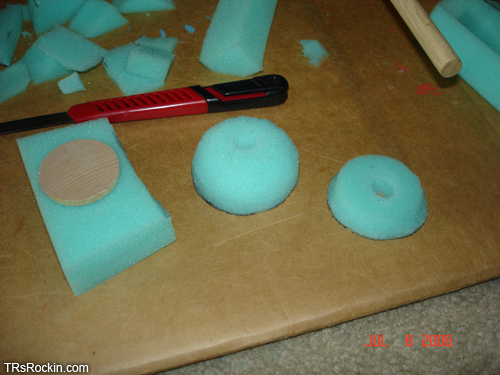
I cut a small piece. Using the stone sharpener drum for the Dremel, on high speed, I was able to cut a small hole in the piece…
Which I painstakingly, little by little, sculpted into a round shape, using the metal polisher bit for my Dremel (which I had to buy separately).
With this method, separate pieces, and some creativity, you can make about any shape imaginable. At least those wooden pieces were good for something (making perfect circles).
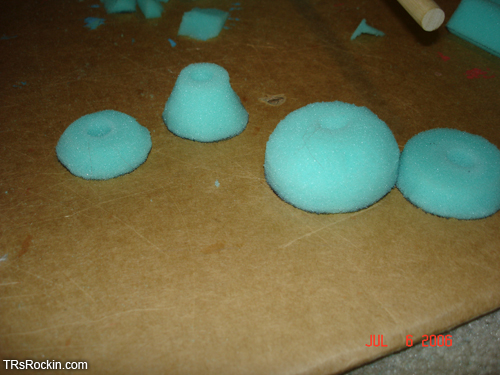
Can you look further down this page and figure out how I arranged these pieces on the dowel? Say the pieces are numbered in order, left to right. Piece three went on right under the wings Piece four was turned over and put right under piece three. Piece one went one inch from the end of the handle, and piece two was turned over, and became the very end (pommel). How’d you do?
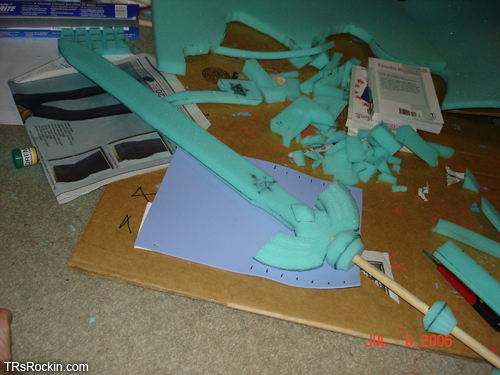
Here almost all of the pieces are glued on. I quickly cut out a diamond to go at the bottom of the blade / top of the wings. I also added the Triforce logo at the base of the blade. At the tip of the sword can be seen another failed attempt at the circular hilt piece.
Using a sheet of funfoam and a pair of scissors, I simply cut small strips.
I then glued them to the handle and let it dry. Hot glue would probably have worked better here.
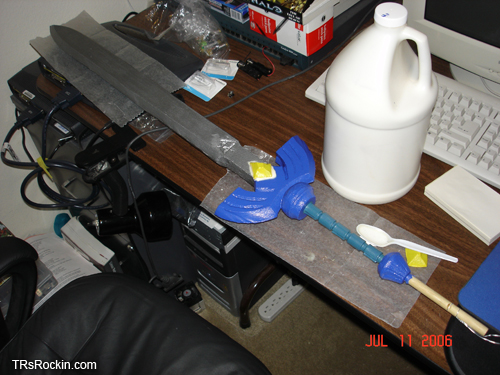
At last! The finished(???) product. Note the dowel sticking out of the bottom. This made working on the upcoming tasks much easier.
Now it’s starting to look like a sword. This is the first color coat. Note: before you begin to paint, take that spray bottle full of watered down glue and coat the unpainted sword lightly a few times, letting it dry between coats. Here is where a newspaper and wax paper come in handy (maybe even a large cookie tray you don’t plan to ever use again). This part is messy. This is Important. To get the paint to work right, you must mix it with the liquid latex thoroughly. This is what gives it flexibility and durability. Ordinary paint will just crack and chip. 1 part paint to 1 part clear liquid latex. Make sure the area is well ventilated. Make sure you have plenty of paper down here too. Note: when painting, lots of thin coats are better than a few thick coats. Even if it doesn’t look like it’s covering, it will eventually. Be sure to let it dry thoroughly between coats. Dry time depends on many things (temperature, humidity, type of paint…) Keep coating it until it's as smooth as you want.
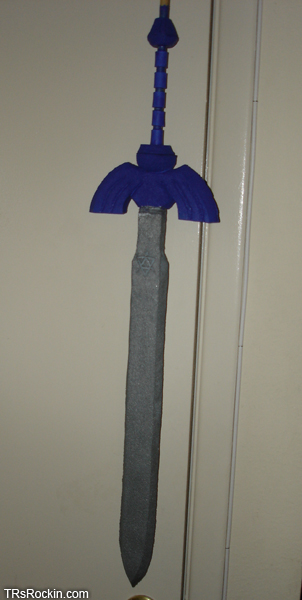
Here is the sword, with many coats of colored-rubber paint. I had forgotten to attach the yellow decoration until now: a few dots of rubber did the trick. For all practical purposes, the weapon is finished. All I need to do is cut off the end. Setting it on wax paper helps to keep it from sticking. Even dry, this type of rubber is sticky. A very light coating of talcum powder keeps it from sticking to everything.
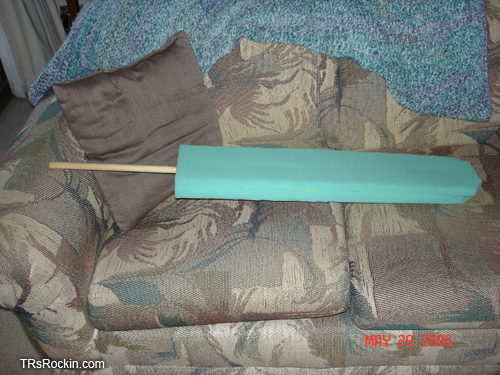
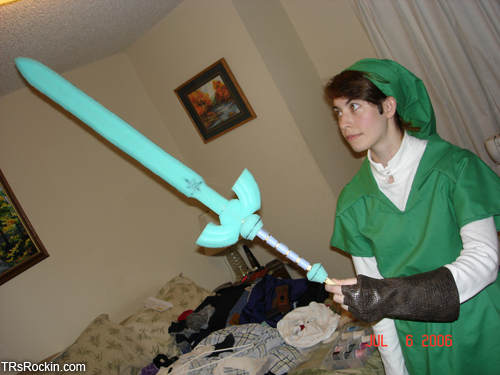
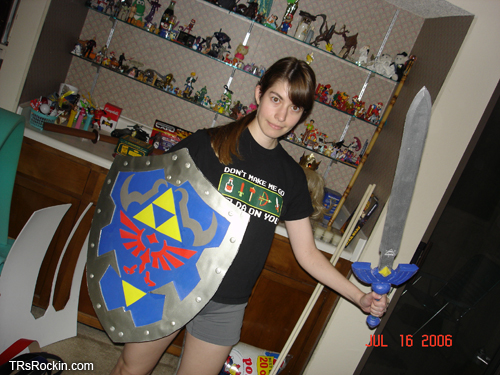
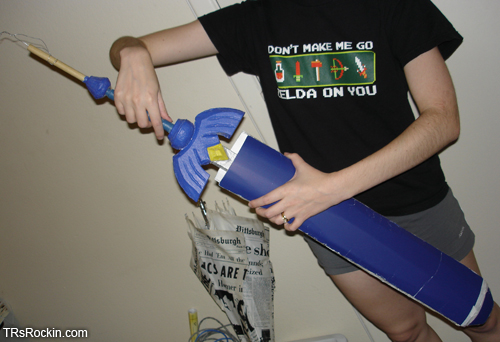
The finished product, scaled for the wielder. A coat on the end of the stick, and it disappears.
Another image.
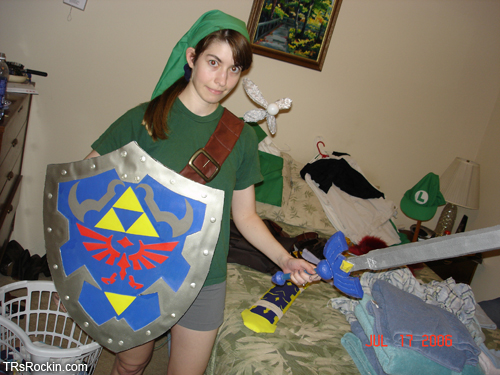
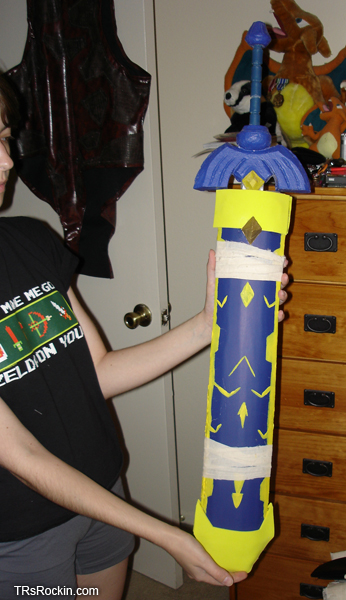
Rose waited until I finished the sword to make the functional scabbard, which we also wound up attaching a belt and an illuminated Navi to.
You begin to lose your mind after many long, sleepless cosplay nights. But that's half the fun! Well, I hope this helps, please contact me if you have any questions! BACK to Cosplay |