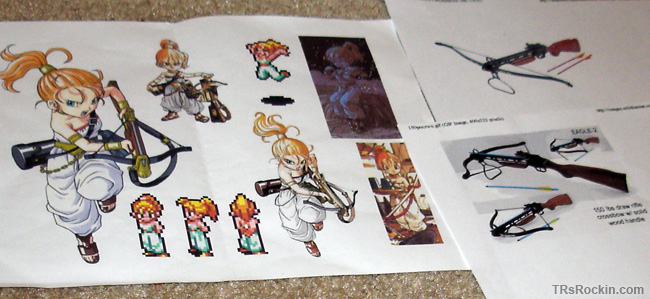
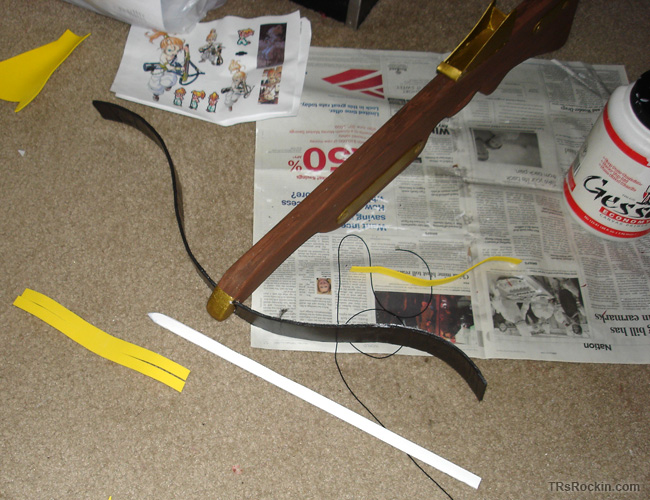
Beyond Swords: Prop WeaponryThere are a number of excellent tutorials online for how to make prop swords, but not so much for other kinds of weaponry. In this tutorial, I'll show you step by step how to make a prop crossbow like the one I made for Marle from Chrono Trigger. Materials needed: The first step in prop making is to gather up as many reference images as possible for the prop you need to make.
And... that's not especially helpful in this case. Basically there are two versions of the same piece of official artwork in almost the same pose and same angle, and one small picture where the character is in the background and the prop is partially obscured. That's not going to be terribly useful. So if I can't get the *actual* prop as reference, I need to use something close. So I did a Google image search for crossbows and found some that were kind of similar. Judging by the few reference images at an odd angle, I couldn't really use the standard size of prop comparison. So I started looking for size references for *actual* crossbows. The site I found that was selling actual ones (that resembled the one I needed to make) gave a length measurement of 31" and a width measurement of 27". That was going to be my rough starting point. I took a Sharpie marker and a yardstick and measured out a 31" long area on the insulation foam. Then I sketched out a basic shape for the stock section of the crossbow that filled this area. This was pretty imprecise and I used the actual photographs for the shape more than I used the reference artwork. Basically it looked like a very pink rifle.
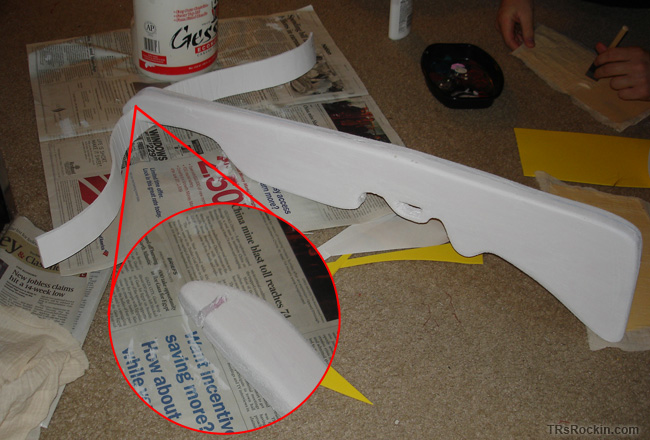
Next I cut out the foam. A foam cutting tool - basically an electric tool with a long metal stick on one end - is really helpful here. It basically slices through the foam like a knife through butter. However, you have to be careful while doing this. Not only is the wire extremely hot, but if you go too fast, you can bend or break the wire (which is what I wound up doing). You can also cut the foam with an ordinary boxcutter, but it is less precise. After I cut out the foam, I put the cutout piece down on the sheet of insulation foam, traced it, and made a duplicate. So now I had what looked like two pink rifles. I used hot glue to fasten the two pieces together into one thick piece. Once the glue dried, I used sandpaper to smooth the edges and make the pieces match up exactly. Then I rounded the edges with the sandpaper for a nice, smooth look. Cutting out the "trigger" area was by far the most difficult, and I used a very small jewelry file for the sanding here.
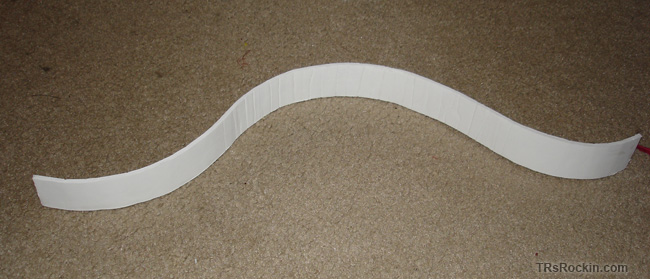
Now to make the cross piece of the weapon. I cut a long strip of foamcore and began to moisten it with a washcloth, much how I made my scabbard for Link. I gently eased the foamcore into a curved shape with reverse curves on the outside edges, putting small creases into the foam as I did. This part is much more artistic and requires some trial and error to get right. Since the piece I cut was too long, I used the boxcutter to chop off the ends, giving me a final width of around 27" straight across (the piece is longer than that, but it curves).
Next I had to attach the cross piece to the rifle-looking piece. Basically I cut a notch the same width as the foamcore into the stock piece near the tip. Once this was finished, I covered both pieces with several coats of gesso.
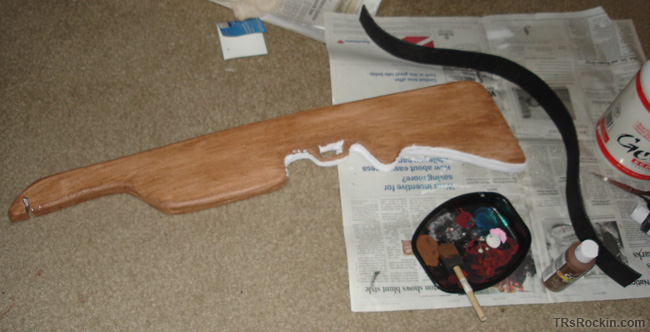
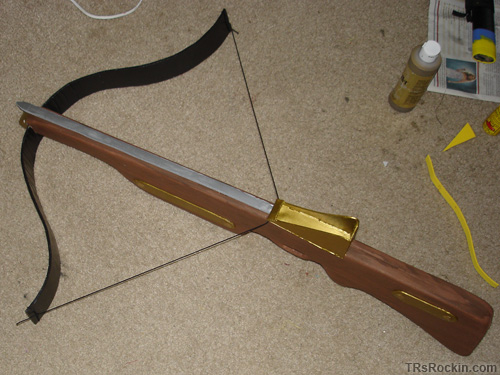
Once the gesso dried, I painted both pieces with acrylic paint. It took several coats to completely cover over the Sharpie marker lines I used when drawing out the pieces.
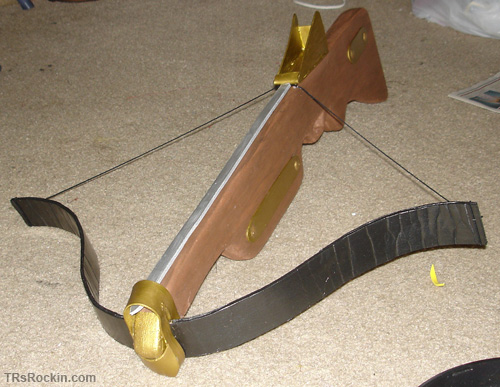
Then I began to work on the details - the gold decorative metal plates, the sighting mechanism, and the front portion. These were constructed out of fun foam and hot glue, then covered with 2-3 coats of white school glue. The glue helps to seal the foam and give it a nice, reflective finish. While you can just paint the funfoam with paint, it really doesn't look great when it's done. After I added several coats of paint, I made the little rivets with fabric paint, which added some dimension. The pieces were attached to the final crossbow with hot glue.
The crossbow bolt was made from a long, skinny piece of foamcore with a point cut into the end and sanded down. My original plan was to use a wooden dowel rod, but in the interest of keeping this convention-legal, I opted for the softer foamcore. I purchased a length of narrow stretchy cord at JoAnn Fabrics (in the trim section) which I tied to either end of the bow part and hotglued right under the sighting mechanism. I opted to leave the carrying strap off the finished piece because it looked better without it.
This prop took about a week of solid work to finish, but it was fairly inexpensive to build. I actually had all the supplies except the bowstring left over from other projects!
BACK to Cosplay |